 |
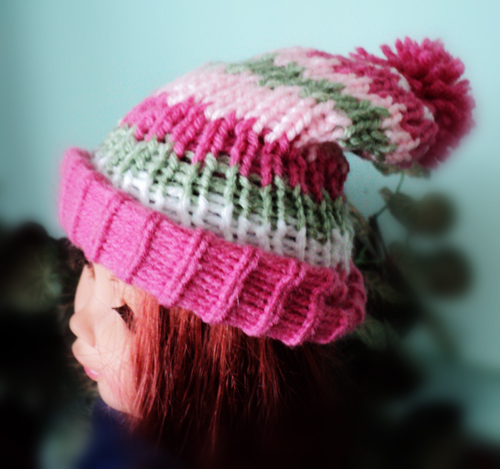
| Roman Holiday Hat |
The hat is an attempt to duplicate this cute hat that used to be on sale at etsy:
Rainbow
I used the Roman stitch to duplicate the look of the rows. This simple pattern is a very good one for a beginning loom knitter to have in his/her mental file cabinet!
Pattern Information
Knitting Loom: Knifty Knitter 24 peg "Preemie" loom
Yarn:
Color A: Red Heart "Orchid" #4 size yarn
Color B: Red Heart "Olive" #4 size yarn
Color C: Caron "Creme" #4 size yarn
Color D: Red Heart "Raspberry" #4 size yarn
Skill Level: Beginner
Abbreviations:
k = knit
p = purl
ew = e-wrap
Instructions:
With Yarn Color A, cast on 24 pegs.
BRIM
Row 1: Knit to end
Row 2: ewrap to the end
Rows 3-10: Repeat Rows 1 and 2
When you've completed Row 20, find the first stitch (the end of your yarn should still be dangling from it). Loop the first stitch back up over Peg #1. Continue around the loom until the entire first row is looped back up onto the loom. Knit the last row of stitches over the first row of stitches.
BODY
Rows 11 - 14: knit to the end
Row 15: *k1, p1* Repeat to the end
Row 16: *p1,k1* Repeat to the end
Drop Yarn Color A inside the loom and Switch to Yarn Color B
Rows 17 - 22: knit to the end
Row 23: *k1, p1* Repeat to the end
Row 24: *p1,k1* Repeat to the end
Drop Yarn Color B inside the loom and Switch to Yarn Color C
Rows 25 - 28: knit to the end
Row 29: *k1, p1* Repeat to the end
Row 30: *p1,k1* Repeat to the end
Drop Yarn Color C inside the loom and Switch to Yarn Color D
Rows 31 - 34: knit to the end
Row 35: *k1, p1* Repeat to the end
Row 36: *p1,k1* Repeat to the end
Tie off and cut Yarn Color D and Switch to Yarn Color A
Rows 37 - 40: knit to the end
Row 41: *k1, p1* Repeat to the end
Row 42: *p1,k1* Repeat to the end
Tie off and cut Yarn Color A and Switch to Yarn Color B
Rows 43 - 46: knit to the end
Row 47: *k1, p1* Repeat to the end
Row 48: *p1,k1* Repeat to the end
Tie off and cut Yarn Color B and Switch to Yarn Color C
Row 49 - 50: knit to the end
Bind off using gathered removal method.
To create a corkscrew tousle: I am using Renita Harvey's modified I-cord method of creating corkscrew tousles. I recommend you watch her video, which can be found here:
Renita Harvey's Corkscrew Tousle Video
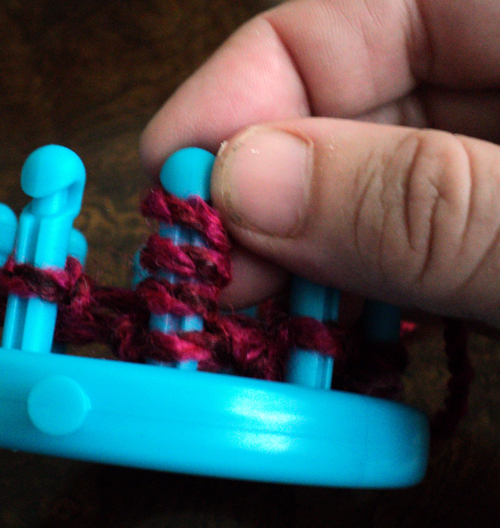
The method is actually pretty simple, but is difficult to convey using conventional knitting notation. In short, you use two pegs on your loom and wind your yarn in a figure 8 pattern. You knit four stitches into the first peg and then anchor them by knitting a stitch into the second peg. Be sure to pull the stitches into the second peg tight to aid the curling of the stitches. When you are done, it also helps to twirl the spiral with your fingers to give it the shape you desire. Okay, here's a try at conveying this stitch using knitting notation:
Tie a slip knot in the yarn and place around peg 1
Wrap yarn in a counterclockwise direction around peg 2
Wrap yarn in a clockwise direction around peg 1
Row 1: k1, WYIF k1
Row 2: ew3tog, k1
Rows 3- 40: Repeat Rows 1and 2
Row 41: k1, WYIF k1
Take loop off peg 1 and move to peg 2. Knit together. Pull yarn off peg. Put tail of working yarn through the loop and tie off.
Thread tails of corkscrew tousles through top of toboggan. Knot tails securely inside toboggan.

TIP
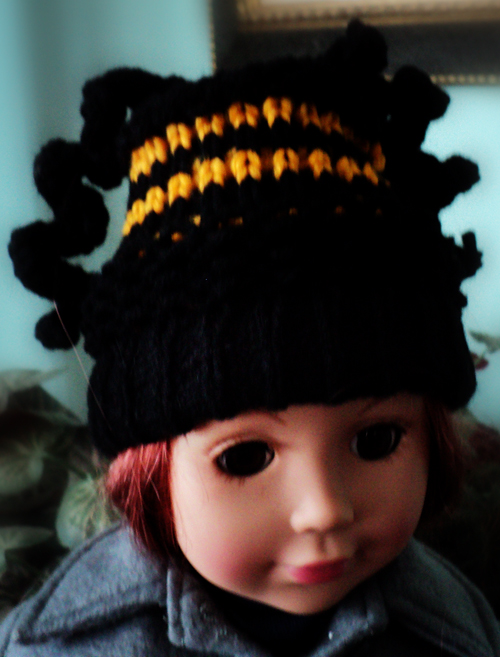
This pattern was designed to be made with many different colors of scrap yarn. I strongly suggest that for the doll-sized version of this hat you pull off a few yards of yarn and wind them into a ball as if it was scrap. The pattern switches color frequently and asks you to drop the yarn you are not using through the loom to wait its turn. Pulling a skein of yarn back and forth through a "preemie" sized loom is no fun, let me tell you!


